The Ultimate Guide to Angular Email Builder (Build or Embed)
Learn all about Angular email builders — from build vs. embed and UI libraries to seamless integrations, performance optimization, and troubleshooting tips.

Are you thinking to embed Unlayer email builder in Angular? You are exactly where you need to be.
This guide covers each and every step you need to perform from installation to integration, configuration, and eventually getting the email builder up and running in your app. And if you'd like to have a broader picture beyond embedding, don’t miss our ultimate guide to Angular email builders.
Ready to embed? Here you go:
Install Unlayer Angular wrapper via npm or yarn:
npm install angular-email-editor --saveOr
yarn add angular-email-editorAdd Unlayer Angular wrapper to the app.component.ts file inside the src/app folder.
import { Component } from '@angular/core';
import { isPlatformBrowser, CommonModule, NgIf } from '@angular/common';
import { EmailEditorModule } from 'angular-email-editor';
@Component({
 selector: 'app-root',
 standalone: true,
 imports: [EmailEditorModule],
 template: `
   <email-editor
     [options]="editorOptions"
     (onLoad)="editorLoaded()"
     (onReady)="editorReady($event)">
   </email-editor>
 `,
})
export class AppComponent {
 editorOptions = {
               // provide Unlayer parameters here
 };

editorLoaded() {
   console.log('Editor loaded');
 }


editorReady(unlayer: any) {
   console.log('Editor is ready', unlayer);
 }
}Pass your projectId, displayMode, version, amp, and customJS into the options prop (we’ve named it editorOptions here), like this:
editorOptions = {
   projectId: 123456, // Replace with your actual Unlayer project ID
   displayMode: 'email' as 'email', // replace with "web", or "document", or "popup"
   version: 'latest',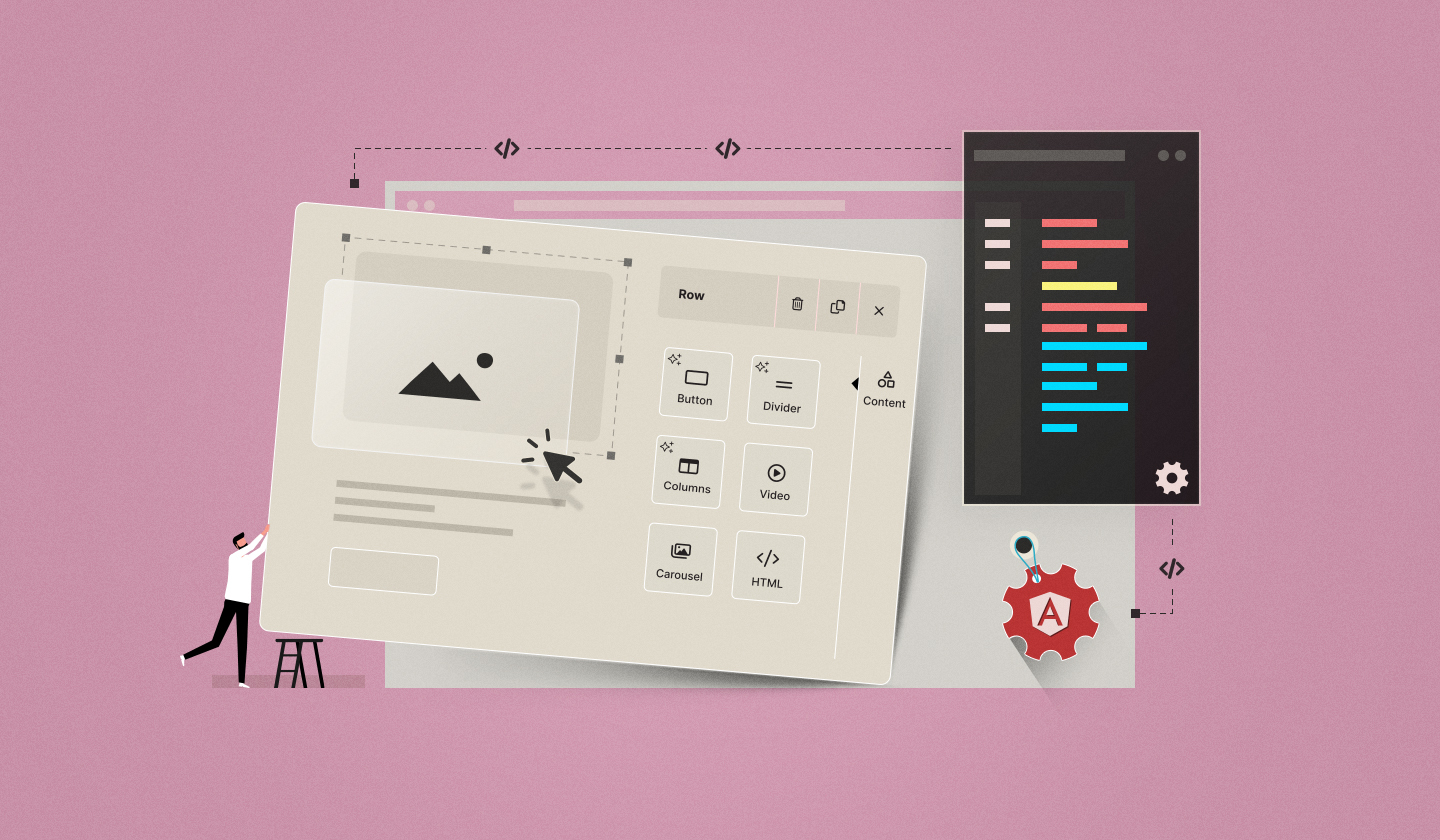
};Start your Angular app. Once the server is up and running, open your browser—you’ll see the Unlayer Editor live and functioning.
Now that you have mastered how to embed Unlayer email builder in Angular, it’s time to see it in action.
Embed Unlayer in Angular!
Dev-friendly. Customizable. Built to Scale.
Here are a few helpful resources:
Angular Component Documentation: For full API details & usage pattern
GitHub Repository: To view source code & raise issues
Book a Demo: To see Unlayer in action
Umm… you will need:
An Angular app (v12+ is recommended)
Node.js and npm or yarn to install angular-email-editor
Access to app.component.ts
A browser supporting modern JS and HTML5
An Unlayer account (optionally) to get premium features and handle domains
Well, it depends on what type of issue you are facing.
For example, if some features are missing or blocks are not rendering, you might be using the wrong email editor version. If the Unlayer watermark is still there, make sure to whitelist your production domain in the Unlayer console.
Every problem has its own fix, and we have covered them all in detail. Read: Angular Editor Development: Common Pitfalls & How to Fix Them.
Well, Unlayer offers a forever-free plan with basic Email Builder, Page Builder, Popup Builder, and Document Builder.
For premium features, Unlayer offers three paid plans: Launch, Scale, and Optimize. These plans start at $250/month, $750/month, and $2000/month, respectively, with a 14-day free trial.
A custom pricing plan is also available for enterprises.
View the pricing page to compare all the plans in depth.
Insights on email design, content creation, and developer productivity.
Learn all about Angular email builders — from build vs. embed and UI libraries to seamless integrations, performance optimization, and troubleshooting tips.
Are you exploring some of the best practices for using directives in email design components? Fret not; we’ve done the job for you. You just have to dive in!

Are you exploring the top benefits of embedded email builders in Angular apps? Well, this post covers all the value they offer developers and end-users.