How to Embed Unlayer Email Builder in React: 5 Easy Steps 🚀
Embed Unlayer’s email builder in your React app in just five steps with our React SDK. A customizable drag-and-drop editor, backed by clean code and fast setup.

Building a custom email editor from scratch for your SaaS app isn’t just challenging—it’s a long-term engineering commitment.
Beyond creating a drag-and-drop interface, you’ll need to design an intuitive user experience, ensure seamless data flow with your backend, and support advanced features like custom blocks, image handling, and template management. Over time, all this requires continuous maintenance, optimization, and updates—turning what seemed like a one-time build into an ongoing drain on developer resources.
Embeddable React email builders solve this challenge by offering a pre-built, fully customizable editor that integrates effortlessly into your app and syncs smoothly with your backend systems. Developers retain full control over the UI, features, and performance, while non-technical users can design professional, responsive emails without writing a single line of code.
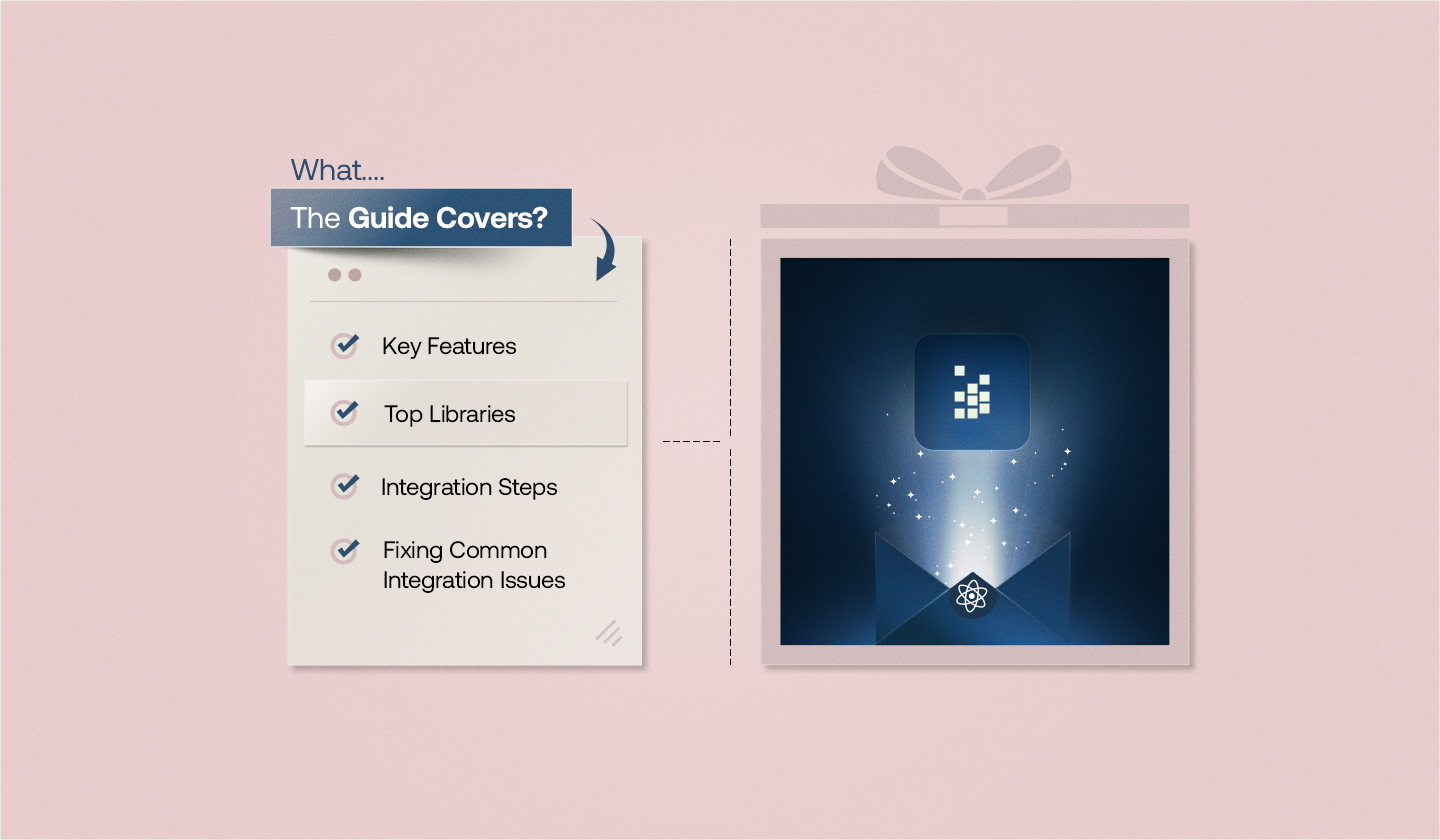
This guide will cover:
What Is an Embeddable React Email Builder?
How an Embeddable React Email Builder Differs from Standalone Editors
Calculating the ROI of an Embeddable Builder
Key Features to Look for in an Embeddable React Email Builder
Choosing the Right React Email Builder Library
How to Embed an Email Builder in Your React App
How to Customize the Toolbar and Theme in a White-Label Unlayer Embed
Common Unlayer Integration Issues in React & How to Fix Them
FAQs About Embeddable React Email Builders
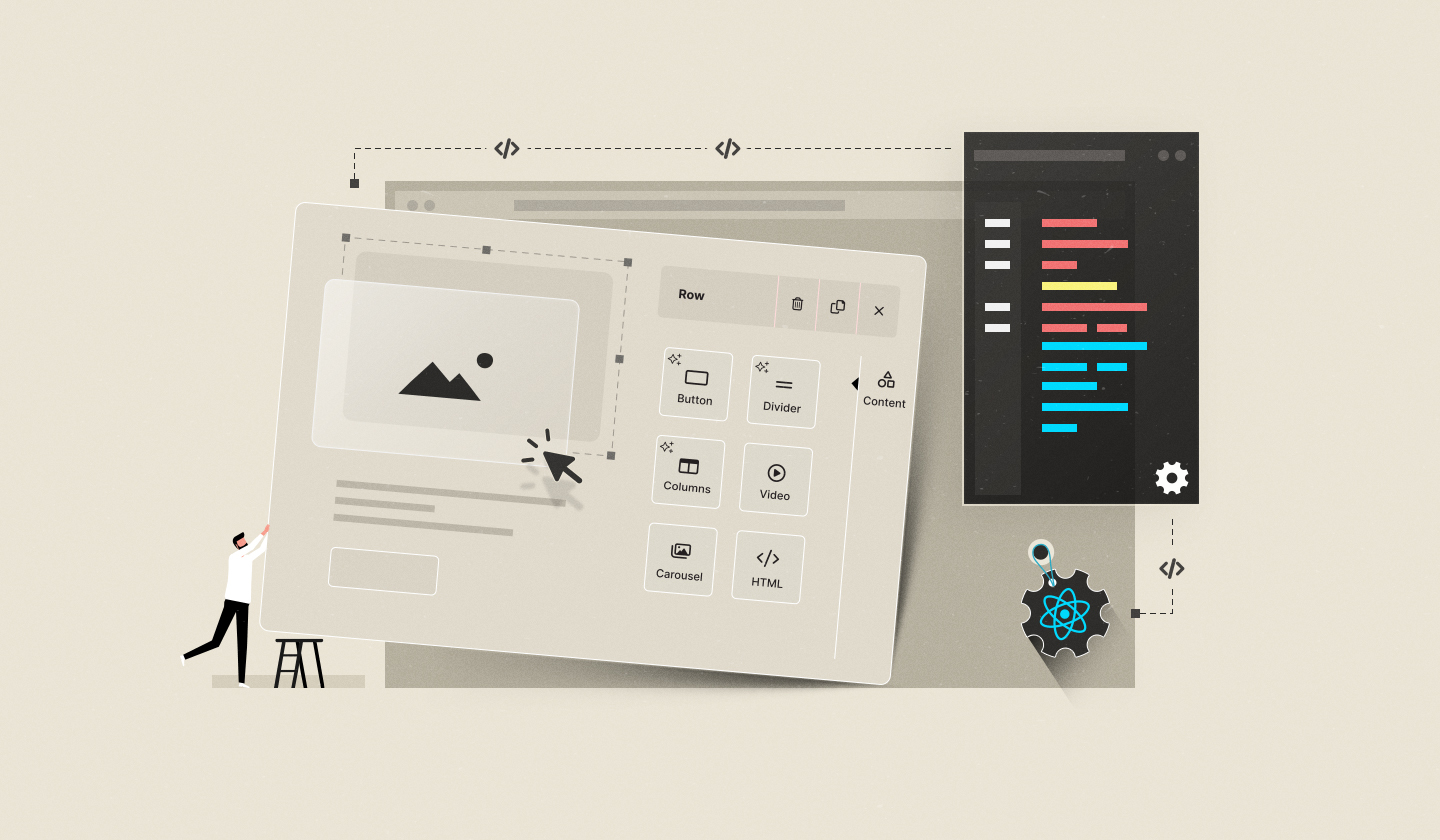
It is a drag-and-drop editor that you can integrate directly into your React application. Instead of redirecting users to a third-party tool, it brings full email design capabilities—like drag-and-drop editing, media uploads, and real-time previews—right inside your own interface.
What makes it “embeddable” is how seamlessly it fits into your app’s architecture and branding. For example, with Unlayer’s React email builder, embedding takes just a few lines of code. You can initialize the editor as a React component, connect it to your backend using APIs, and let users create, edit, and save templates—all without leaving your app. It’s a simple yet powerful way to give your users a professional email design experience while keeping everything under your control.

When it comes to email editors, not all tools are created equal. You’ll typically find three main types:
Standalone SaaS Editors: Cloud-based tools where users log in to a hosted platform to design emails.
React-Based Standalone Editors: Open-source or self-hosted editors built with React but not designed for embedding. These often require heavy setup and customization.
Embeddable React Email Builders: React components or SDKs explicitly built to integrate inside your React app, offering full control over data, design, and user experience.
Here’s how they differ:
Feature | Standalone SaaS Editors | React-Based Standalone Editors | Embeddable React Email Builders (e.g., Unlayer) |
Architecture | Hosted externally; accessed via web login. | Open-source React projects you host separately. | React component embedded directly into your app. |
Integration | Limited to APIs or export options. | Requires heavy customization to integrate. | Natively integrates with your backend via APIs and callbacks. |
User Experience | Users switch between tools; inconsistent branding. | Can be themed, but still feels separate from your app. | Seamless, in-app editing experience with full UI control. |
Data Flow | Data stored externally. | Requires manual handling and database setup. | Full control over data storage, syncing, and autosave. |
Maintenance | Managed by the vendor. | Fully self-managed; time-intensive. | Managed via SDK updates—minimal upkeep. |
Scalability | Suited for individuals or marketing teams. | Depends on your infrastructure. | Built to handle multi-user SaaS environments efficiently. |
By embedding a React email builder like Unlayer, you get the best of both worlds—optimized React performance and deep integration flexibility—without reinventing the wheel.
But once you’ve seen the technical differences, another question naturally comes up — is embedding really worth it in the long run?
Beyond technical efficiency, the real advantage of an embeddable React builder lies in its business impact. Building your own editor might seem cost-effective at first, but the ongoing maintenance, upgrades, and support quickly turn into hidden expenses.
An embeddable solution shifts that dynamic by reducing engineering overhead, speeding up go-to-market timelines, and freeing your team to focus on revenue-driving features. In the bigger picture, it’s not just a development shortcut — it’s a smarter investment that delivers measurable ROI over time.
Related: When to Build vs. When to Buy an Embeddable Content Builder
When evaluating an embeddable React email builder, focus on features that deliver both ease for end-users and control for developers.
1. Drag-and-drop functionality to let end-users design stunning emails without writing any code.
2. Custom tools that enable developers to build unique design components, perfectly tailored to their needs.
3. Reusable blocks, also known as custom blocks, to ensure consistent design across all email marketing campaigns.
4. Localization and multi-language support so teams can work in their preferred language and maintain a unified experience.
5. Responsive design controls so that emails look good on different screens, whether it is a tablet, mobile phone, or desktop.
6. Integration capabilities to connect effortlessly with APIs, ESPs, CRMs, and internal systems.
Read More: React Email Editor Explained: Key Features & Why They Matter
1. Template versioning and rollback to track every change and easily restore previous versions when needed.
2. AI-powered features to create high-quality emails faster through intelligent suggestions, automated copy generation, image optimization, and compliance checks.

3. User roles and access control to prevent unauthorized changes and maintain structured workflows by clearly defining who can create, edit, or approve templates.
4. Dynamic content and personalization to personalize emails at scale, delivering tailored experiences for different audiences directly from your React app.
5. Advanced analytics and event tracking to capture real-time data on template usage and user activity, enabling continuous optimization of both design performance and team productivity.
When it comes to embeddable React email builders, there are several tools and libraries to choose from. Some, like Unlayer, come as SDKs or ready-to-embed React components, while others—like React Email by Resend—are pure code libraries. Here’s how the top options compare in terms of flexibility, integration, and ideal use cases:
Library | Type | Key Features | Customization Flexibility | Ease of Integration | Best For | License |
Unlayer | SDK/Component | Drag-and-drop builder, Custom tools and themes, AI-powered suggestions, Responsive by default, Dynamic content & reusable blocks, 90+ email client compatibility, Localization (29 languages), White-label ready | Full control over UI, tools, and branding | React SDK with detailed docs, rapid setup | SaaS products, CRMs, ESPs | MIT |
React Email (Resend) | Component Library | Component-based architecture, Dynamic data via props, Tailwind CSS and inline styling, Responsive design, Syntax highlighting for code, Tested across major clients | Moderate (via code, full React control) | Easy for devs familiar with React | Developers who prefer coding templates | MIT |
React Email Editor (Zhugenmin) | React Component | Drag-and-drop interface, Customizable templates, Responsive layouts, Basic email client support, Lightweight setup | Basic | Basic integration; minimal docs | non-commercial projects | Not MIT Licensed |
Key Takeaways:
Unlayer delivers a complete, ready-to-embed SDK designed for SaaS scalability and end-user simplicity.
React Email (Resend) is ideal for developers who prefer to code everything manually with React and Tailwind.
Zhugenmin’s builder works for small or personal projects but lacks commercial licensing and advanced functionality.
Check Out Full Comparison: 3 Best React Email Builder Libraries (Compared)
After evaluating the options, the next step is to see how an embeddable React email builder can be integrated into your app. Unlayer’s React component makes integration super fast and developer-friendly.
All you need to do is:
Install the Unlayer React component: This adds the editor to your project as a ready-to-use React component, saving you from building an email editor from scratch.
Import the editor into your component and add it to JSX: This allows the editor to render seamlessly within your app, giving users an intuitive, interactive email creation experience.
Implement lifecycle methods to handle interactions with the editor: These hooks let your app respond to user actions—like saving designs, updating content, or tracking events—ensuring smooth integration.
Customize the editor’s UI to match your app’s branding and design: Adjust the toolbar, themes, fonts, and other elements to make the editor feel native to your platform.
Save or export designs to your backend or preferred email service provider: Once designs are ready, you can programmatically save or export them, giving full control over the content workflow.
If you want to get code snippets for each step, follow our dedicated guide to embedding the Unlayer email builder in React.
You can make Unlayer truly yours, and here’s how:
The toolbar in the Unlayer builder UI is where users find editing blocks like Image, Text, HTML, Button, Video, Timer, etc. Customizing it lets you choose which tools to show, hide, re-order, limit, or re-icon, giving you full control over the editor’s look and functionality.
Let’s take an example of the image tool, which is enabled by default in the editor. If you don’t want your end-users to access it, you can disable it via this code snippet:
unlayer.init({
 tools: {
   image: {
     enabled: false,
   },
 },
});Here’s another example of repositioning tools to make them appear before/after other tools:
unlayer.init({
 tools: {
   image: {
     position: 1,
   },
 },
});Here’s how you can limit the form to be used just once in the design:
unlayer.init({
 tools: {
   form: {
     usageLimit: 1,
   },
 },
});Change the icon of any tool, let’s say the image tool:
unlayer.init({
 tools: {
   image: {
     icon: '[IMAGE URL HERE]',
   },
 },
});
For more information on tools and how to customize them, see Unlayer Docs on Tools.
Themes define the visual styling of the Unlayer builder interface. Customizing it means matching the builder’s UI to your brand to make it look and feel a natural part of your product.
Unlayer offers four built-in themes: modern_light, modern_dark, classic_light, and classic_dark, saving you time to build from scratch. You can configure a theme for the editor during initialization using the unlayer.init() method.
By default, the builder is set to modern_light:
unlayer.init({
 appearance: {
   theme: 'modern_light',
 },
});
You can change it to modern_dark on the fly like this:
unlayer.setTheme('modern_dark');You can even extend an existing theme and override its color, shape, and style settings. For example, here’s how you can create a custom modern dark purple theme:
unlayer.init({
 appearance: {
   theme: {
     name: 'custom_modern_dark_purple',
     extends: 'modern_dark',
     isClassic: false,
     isDark: true,
     mapping: {
       borderRadius: {
         none: '0',
         min: '2px',
         mid: '8px',
         max: '12px',
         full: '50%',
       },
       colors: {
         accent_01: '#9632a0',
         accent_02: '#ae70b4',
         accent_03: '#bf87c4',
         accent_04: '#d9b4dc',
         accent_05: '#eed5f0',
         primary_01: '#ffffff',
         primary_02: '#f2ebf4',
         primary_03: '#e8dded',
         primary_04: '#d2c2d6',
         primary_05: '#9c95a6',
         primary_06: '#906994',
         primary_07: '#5d425c',
         primary_08: '#4f344d',
         primary_09: '#3c263d',
         primary_10: '#4e2e51',
         primary_11: '#441e42',
       },
     },
   },
 },
});
Change the theme instantly:
unlayer.setTheme(myCustomThemeObject);To dive deeper, check out Unlayer Docs on Themes.
If all the out-of-the-box themes don't match your specific needs, or you want to customize some particular UI element, you can use Unlayer’s Custom JS / CSS options. This helps you gain more control to tweak any existing theme or even create an entirely new look that fits your brand.
Note: These examples of customizing the toolbar and theme show just a few ways you can make the Unlayer editor feel native to your app. If you want to explore deeper customization—like adjusting layout, fonts, behavior, or adding bespoke features—you can extend the editor SDK further. For a complete walkthrough of all possibilities, see our Developer’s Guide to customizing and extending the Editor SDK.
Integrating an email builder into a React app is usually straightforward, but developers can sometimes run into minor roadblocks. Here’s a quick overview of common issues you might face when embedding Unlayer in a React app, along with easy fixes:
Issue | Solution |
Editor doesn’t initialize properly in React | Modularize the editor using a dedicated React component instead of cluttering App.js. |
AMP or Carousel blocks not rendering | Enable AMP explicitly in the editor’s |
Existing HTML templates won’t load | Use the Classic (Legacy) editor mode to import and edit raw HTML templates. |
Confusion on editor version | Use |
Watermark appears or paid features missing | Whitelist your production domain in the Unlayer Console to unlock all the features of your paid plan. |
Custom tool not appearing in editor | Properly bundle the tool code (using Webpack/Vite), host it publicly, and register it using the |
Custom tool shows as “Missing” in HTML/PDF/Image exports | Ensure the tool is publicly hosted and define exporters for all modes. |
File Manager not visible | Choose either the built-in File Manager or a Custom Image Library; both cannot be active simultaneously. |
For detailed step-by-step solutions with code examples, refer to: Troubleshooting Common Issues When Embedding Unlayer in React.
Embeddable React email builders are changing the way teams create, edit, and manage email campaigns—right inside their applications. Every step, from evaluating options and embedding the editor to customizing the interface and handling exports, matters in delivering a seamless experience for both developers and end-users.
Tools like Unlayer show how ready-to-use components can make development easier, but the real secret is a structured, modular, and well-documented integration approach. This not only ensures flexibility, scalability, and consistent branding but also lets your team focus on what really matters: crafting engaging, high-quality emails without reinventing the wheel.
Embed Unlayer!
Set up fast. Customize fully. Scale easily.
Got questions? Here, we have answered some frequently asked questions about an embeddable React email builder.
Well, your definition of “the best” depends on your specific needs.
However, Unlayer is the top choice of most developers due to its powerful React component, role-based access, custom tools, and seamless integration with CRMs, public-facing platforms, ESPs, etc. It is also white-labeled, embeddable, and customizable, making it a perfect fit for SaaS apps.
Well, here are the key steps to fully customize a React email builder like Unlayer:
1️⃣ Embed the email builder in your React app using Unlayer’s React component.
2️⃣ Rebrand the UI with your own logo, colors, and fonts.
👉 (Read the full docs on color management and font management.)
3️⃣ Add custom blocks to match your content or product needs.
4️⃣ Show or hide tools (HTML, image, text, etc.) as per your need.
5️⃣ Set user roles and template permissions for approving, editing, deleting, saving, and exporting.
Still have any queries? Book a free demo and see how easily you can make Unlayer your own.
Yes, Unlayer offers both APIs and SDKs.
The JavaScript SDK makes it easy to integrate the email builder on the front end, while the API helps handle everything on the backend, like retrieving, loading, and saving designs, managing webhooks and events, etc.
Yes, Unlayer offers a forever-free plan that gives you access to basic:
Because they slot right into React apps, saving developers the hassle of building an email editor from scratch. This lets them focus on creating better features and a smoother experience for users.
Insights on email design, content creation, and developer productivity.
Embed Unlayer’s email builder in your React app in just five steps with our React SDK. A customizable drag-and-drop editor, backed by clean code and fast setup.

Ensure smooth collaboration with user roles and access control in email builders. Explore how they streamline workflows and prevent costly mistakes.
Optimizing your React app is not optional but essential. If you’re looking for React performance optimization techniques and tools, this blog is for you.