
Is Unlayer Affordable for Startups and Small Businesses?
Discover Unlayer cost for startups: flexible plans, scalable features, and cost-effective solutions to help your business grow efficiently.

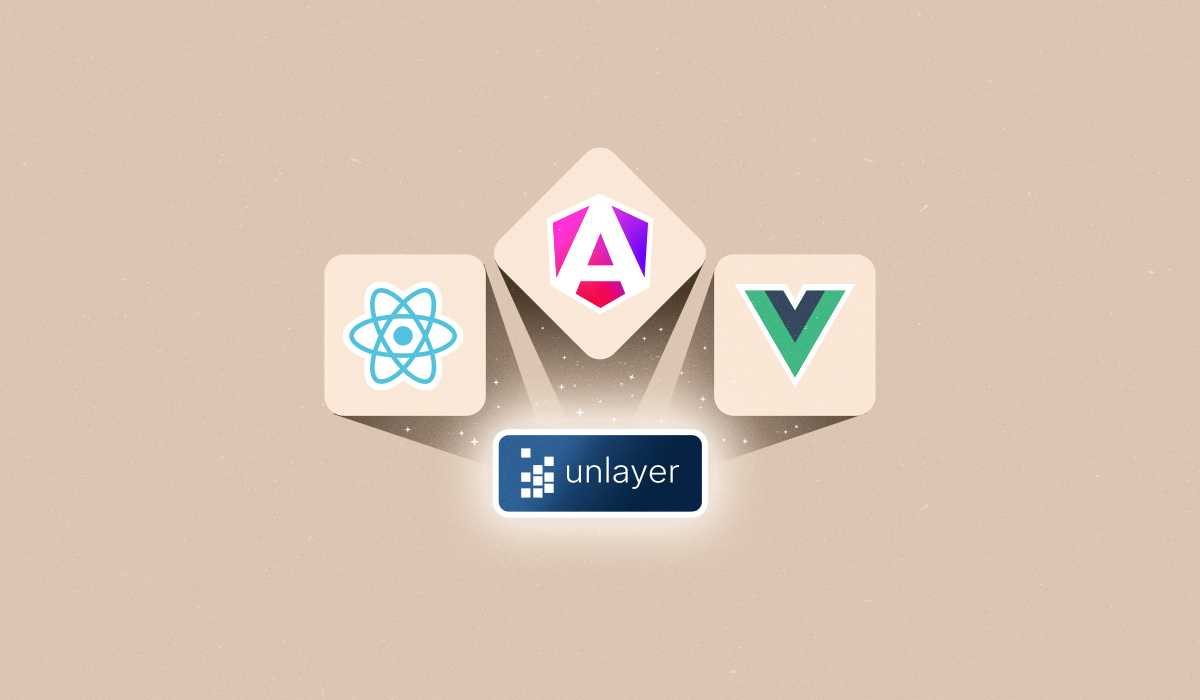
When you integrate a visual editor into your app, you are choosing more than a tool; you are deciding how it fits your frontend architecture.
Modern editors like Unlayer offer framework-specific components for React, Angular, and Vue built on top of the same core JavaScript SDK.
These components help you embed a visual builder (for emails, landing pages, popups, and documents) with the same powerful features: a drag-and-drop interface, theming and white-labeling, merge tags and dynamic content, custom tools, event hooks and lifecycle methods, and export formats (HTML, image, plain text, PDF, ZIP file), etc.
The difference isn’t the functionality; it’s the code, the developer experience that varies based on which framework you choose.
In this blog, we’ll do the Unlayer SDK comparison across React, Angular, and Vue in three key areas: editor initialization, performance optimization, and troubleshooting integration issues.
Here’s how to initialize the Unlayer editor properly in React, Angular, and Vue apps:
1. Install the Unlayer React component:
npm install react-email-editor --save or yarn add react-email-editor2. Create a new component file inside your src folder:
EmailComponent.js3. Add Unlayer editor code:
import React, { useRef } from 'react';
import { render } from 'react-dom';
import EmailEditor, { EditorRef, EmailEditorProps } from 'react-email-editor';
const App = (props) => {
  const emailEditorRef = useRef<EditorRef>(null);
  const exportHtml = () => {
    const unlayer = emailEditorRef.current?.editor;
    unlayer?.exportHtml((data) => {
      const { design, html } = data;
      console.log('exportHtml', html);
    });
  };
  const onReady: EmailEditorProps['onReady'] = (unlayer) => {
    // editor is ready
    // you can load your template here;
    // the design json can be obtained by calling
    // unlayer.loadDesign(callback) or unlayer.exportHtml(callback)
    // const templateJson = { DESIGN JSON GOES HERE };
    // unlayer.loadDesign(templateJson);
  };
  return (
    <div>
      <div>
        <button onClick={exportHtml}>Export HTML</button>
      </div>
      <EmailEditor ref={emailEditorRef} onReady={onReady} />
    </div>
  );
};
render(<App />, document.getElementById('app'));
4. Pass projectId, displayMode, version, amp, and customJS in the options prop:
<EmailEditor
        ref={emailEditorRef}
        onReady={onReady}
        options=
        {{
            projectId: 123456, // Replace with your actual Unlayer project ID
            displayMode: “email”, // replace with "web", or "document", or "popup"
            version: 'latest',
        }}
 />
5. Import the component in App.js and use it in App() function:
// App.js
import React from 'react';
import EmailEditorComponent from './EmailComponent';
function App() {
  return (
    <div>
      <EmailEditorComponent />
    </div>
  );
}
export default App;1. Install the Unlayer Angular component:
npm install angular-email-editor --save or yarn add angular-email-editor2. Add an Angular component to your app.component.ts file inside the src/app folder:
import { Component } from '@angular/core';
import { isPlatformBrowser, CommonModule, NgIf } from '@angular/common';
import { EmailEditorModule } from 'angular-email-editor';
@Component({
 selector: 'app-root',
 standalone: true,
 imports: [EmailEditorModule],
 template: `
   <email-editor
     [options]="editorOptions"
     (onLoad)="editorLoaded()"
     (onReady)="editorReady($event)">
   </email-editor>
 `,
})
export class AppComponent {
 editorOptions = {
               // provide Unlayer parameters here
 };

editorLoaded() {
   console.log('Editor loaded');
 }


 editorReady(unlayer: any) {
   console.log('Editor is ready', unlayer);
 }
}
3. Pass the projectId, displayMode, version, amp, and customJS in the options prop:
editorOptions = {
   projectId: 123456, // Replace with your actual Unlayer project ID
   displayMode: 'email' as 'email', // replace with "web", or "document", or "popup"
   version: 'latest',
};1. Install the Unlayer Vue component:
npm install vue-email-editor --save or yarn add vue-email-editor2. Add the Unlayer Vue component to your App.vue file inside the src folder:
<template>
  <div id="app">
    <div class="container">
      <div id="bar">
        <h1>Vue Email Editor (Demo)</h1>


        <button v-on:click="saveDesign">Save Design</button>
        <button v-on:click="exportHtml">Export HTML</button>
      </div>


      <EmailEditor
        :appearance="appearance"
        :min-height="minHeight"
        :project-id="projectId"
        :locale="locale"
        :tools="tools"
        :options="options"
        ref="emailEditor"
        v-on:load="editorLoaded"
      />
    </div>
  </div>
</template>


<script>
  import { EmailEditor } from 'vue-email-editor';


  export default {
    name: 'app',
    components: {
      EmailEditor,
    },
    data() {
      return {
        minHeight: '1000px',
        locale: 'en',
        projectId: 123456, // replace with your project id
        tools: {
          // disable image tool
          image: {
            enabled: false,
          },
        },
        options: {},
        appearance: {
          theme: 'dark',
          panels: {
            tools: {
              dock: 'right',
            },
          },
        },
      };
    },
    methods: {
      editorLoaded() {
        // Pass your template JSON here
        // this.$refs.emailEditor.editor.loadDesign({});
      },
      saveDesign() {
        this.$refs.emailEditor.editor.saveDesign((design) => {
          console.log('saveDesign', design);
        });
      },
      exportHtml() {
        this.$refs.emailEditor.editor.exportHtml((data) => {
          console.log('exportHtml', data);
        });
      },
    },
  };
</script>
3. Pass the projectId, displayMode, version, amp, and customJS in the options property:
options: {
version: 'stable',
           amp: true,
           displayMode: 'email',
          },
📚 Additional Guides
👉 How to Embed Unlayer Email Builder in React: 5 Easy Steps
👉 4 Quick Steps to Embed Unlayer Email Builder in Angular
👉 How to Add Unlayer Email Builder to Vue in Under 10 Minutes
The core principle for optimizing the editor remains the same across all the frameworks, such as reducing unnecessary re-renders, code splitting/lazy loading, minimizing bundle size, and throttling and debouncing input events.
However, the implementation and patterns differ due to the framework’s architecture as well as the reactivity model:
It relies heavily on React fragments, the UseTransition hook, and memoization hooks (React.memo, useMemo, useCallback). React’s reconciliation model is unique and demands careful use of state management and hooks.
We’ve written a dedicated guide for React developers to optimize Unlayer editor performance in their app.
👉 Here You Go: React Performance Optimization: Techniques and Tools for Devs
Its main focus is on change detection strategies (OnPush vs Default), handling complex nested components with trackBy in *ngFor, and two-way binding pitfalls. Lazy-loading the modules is a big Angular thing due to its modular nature.
For detailed tips on optimizing Unlayer email editor performance in your Angular app,
👉 Check Out: Why Angular Performance Optimization Matters in Email Editors
Vue’s reactivity model is very different from Angular’s change detection or React’s hooks. So, its performance optimization revolves around its reactivity system, which includes avoiding unnecessary deep reactivity (using shallowReactive), smartly using v-if and v-show, and leveraging keep-alive for component caching.
To deep dive into the tips on optimizing Unlayer email editor performance in your Vue app,
👉 Check Out: Vue Email Performance Optimization Tips & a Smart Alternative
Although the key issues remain the same across frameworks, like messy initialization of the Unlayer editor, AMP/Carousel blocks not rendering, watermark appears, or premium features missing despite paid plans, custom tools not showing in the editor, etc.
However, the code snippets to fix these issues differ by framework, and we have written dedicated troubleshooting guides for each:
👉 React: Troubleshooting Common Issues When Embedding Unlayer in React
👉 Angular: Angular Editor Development: Common Pitfalls & How to Fix Them
👉 Vue: 6 Common Vue Email Builder Issues and How to Avoid Them
After doing a deep Unlayer SDK comparison side-by-side, the one thing that remains clear is that the builder's functionality or capabilities remain the same, but the code, syntax, or developer experience varies across frameworks.
No matter which framework you use, Unlayer offers dedicated React, Angular, and Vue components, so you can choose the one that fits your app for seamless integration and scalability.
Embed Unlayer!
Dev-friendly. Framework-agnostic. Built to scale.
Well, it’s available on Unlayer’s docs page.
Here you go:
Yes, Unlayer offers both.
SDK supports popular JavaScript frameworks like Angular, Vue, and React to embed the builder seamlessly in your host application. On the other hand, API helps you retrieve, load and save designs from your backend system.
Related: APIs and SDKs: What’s the Difference & When to Use Them?
Well, Unlayer allows you to listen to and handle different events such as editor:ready, design:loaded, design:updated, and image:uploaded. For code examples, check out our docs on events and callbacks.
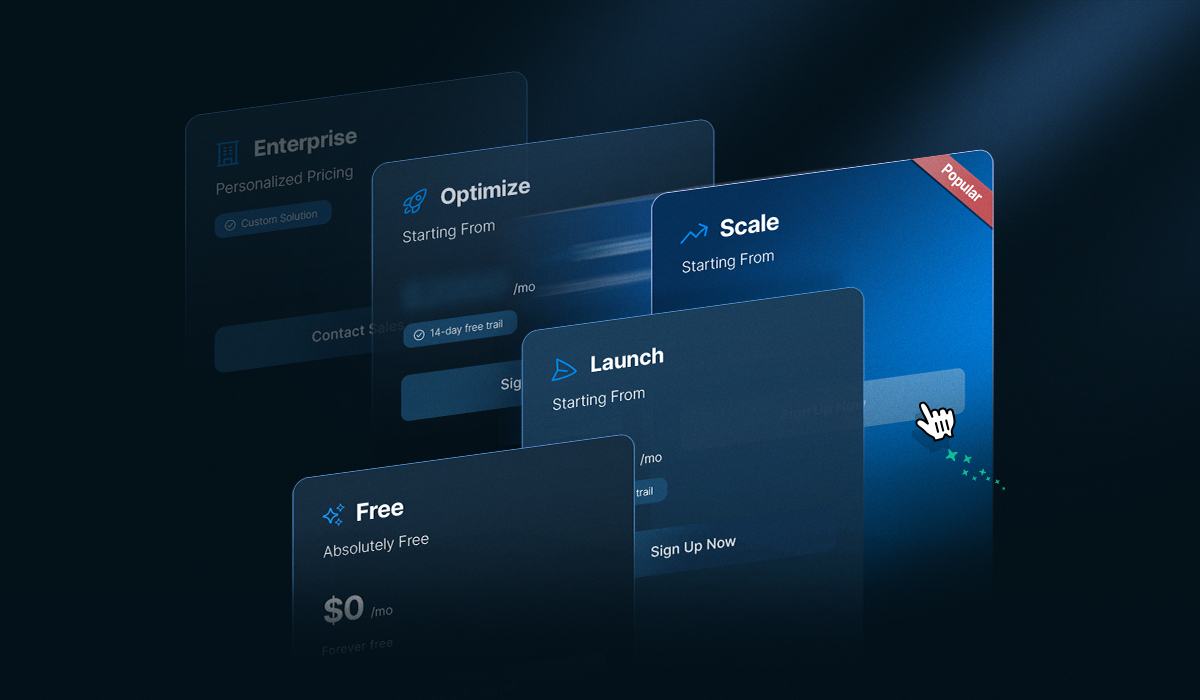
Unlayer’s paid plans start from:
Launch → $250/month
Scale → $750/month
Optimize → $2000/month
Enterprise/Custom Solution → Personalized pricing
Note: The first three plans also offer a 14-day free trial. Check out our pricing page to compare each plan’s features side-by-side.
For any further queries, contact our support team.
Insights on email design, content creation, and developer productivity.
Discover Unlayer cost for startups: flexible plans, scalable features, and cost-effective solutions to help your business grow efficiently.
Exploring one of the best Unlayer pricing plans for your business? This blog breaks down each plan to help you make the best choice with confidence. 🚀
Curious about Unlayer for Agencies? Give this blog a read and learn how it makes content building and delivery faster, easier, and hassle-free for your team. 🚀