If you’ve tried embedding an editor directly inside an Angular application, you’ve likely run into issues, such as rendering delays, repetitive logic, or challenges injecting dynamic content.
Angular directives solve this by letting you isolate the logic, hook into editor lifecycle events, and extend functionality without cluttering your host application.
This article will walk you through the what, why, and how of using Angular directives in email editors. We’ll break down:
What Angular directives are and how they work
Why they’re ideal for embedding email editors
Common integration challenges and how directives solve them
Best practices for directives in the Angular email editor
Real-world use cases like dynamic template loading, merge tags, and custom tool injection
However, if you want to explore more about why Angular is a smart choice, best practices for using directives in email design, and anything else related, you can check out our dedicated guide on the Angular email builder.
What are Angular Directives?
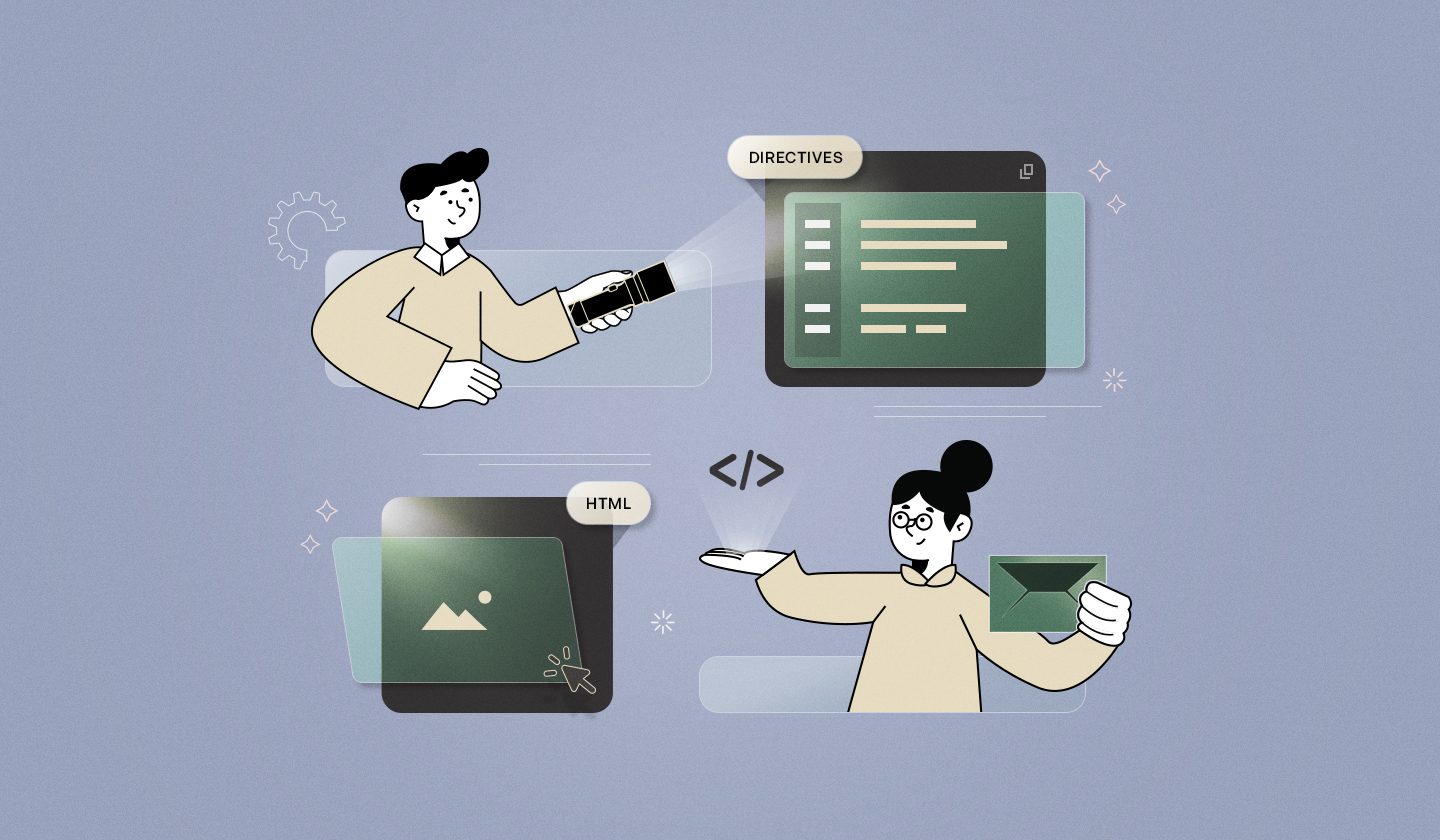
In Angular, directives are a core feature that allow you to extend HTML’s behavior. They let you attach custom logic to elements, manipulate the DOM, or conditionally control what gets rendered. Think of Angular directives as Angular’s way of teaching HTML new tricks.
There are three main types of directives:
Structural directives: Change the layout by adding or removing elements (e.g.,
*ngIf,*ngFor).Attribute directives: Change the appearance or behavior of an element (e.g.,
ngClass,ngStyle).Custom directives: Created by developers to encapsulate reusable logic and apply it across multiple components.

Why Use Angular Directives in Email Editors?
When embedding a powerful email editor like Unlayer into an Angular application, using directives can significantly improve how you manage and scale your integration.
Note: Trust us — it’s actually much easier than it sounds. We’ll walk you through it in the section: “How Unlayer Fits Into the Angular Directives Context.”
Here’s why Angular directives are a smart choice for handling email editors:
✅ Encapsulation of logic
Directives let you wrap all your editor logic into a single, reusable unit. For example, instead of duplicating unlayer.init() setups or event bindings across components, you can use one directive across multiple editor instances, keeping your code DRY and consistent.
🔄 DOM manipulation with lifecycle awareness
Email editors usually rely on being properly mounted and initialized in the DOM. Angular directives allow you to hook directly into the element lifecycle (ngOnInit, ngAfterViewInit, ngOnDestroy), ensuring the editor is only initialized when the DOM is ready and cleaned up properly when removed.
🎛️ Enhanced control
With directives, you can:
Enable or disable specific toolbar buttons
Listen to editor events like
onDesignLoad,onSave, oronChangeInject templates or dynamic content on the go
This gives you more flexibility than relying on raw component logic.
🎨 Customizing editor behavior
You can also use directives to apply advanced customizations:
Add mouse-hover effects or animations
Programmatically load custom tools using
unlayer.registerToolDisplay tooltips or contextual guides based on user actions
Common Integration Challenges (Without Angular Directives)
Embedding an email editor directly inside Angular apps might work initially, but as your application scales, cracks start to show. Without using Angular directives, you’ll likely run into issues like:
⚠️ Lifecycle conflicts
The editor often needs to be initialized after the DOM is fully ready. Relying solely on Angular’s component lifecycle hooks like ngOnInit or ngAfterViewInit can lead to timing issues, especially when rendering is delayed or conditional.
🚫 Editor not rendering via ViewChild
If you're using @ViewChild to reference the editor container, there’s a chance the editor might not mount correctly, particularly if the view hasn’t stabilized or if there are nested dynamic components involved.
🔁 Repetitive setup across components
Embedding the same editor setup logic (e.g., unlayer.init(), toolbar configuration, event handling) in multiple components leads to duplicated, harder-to-maintain code.
🔄 Trouble with dynamic data injection
Injecting merge tags, loading different templates, or switching editor themes becomes messy without a directive to centrally manage these dynamic changes. You often end up with conditional hacks that clutter the component logic.
Directive Best Practices in Angular Email Editor Context
Now that we’ve covered the common issues developers face when embedding an email editor without Angular directives, let’s look at how using directives and following a few best practices can cleanly solve these challenges.
👂 Use @HostListener to capture editor interactions
Need to detect clicks, hovers, or keyboard events inside the editor container? @HostListener allows your directive to listen to DOM events directly on the host element, without bloating the component. This is especially useful for triggering custom UI logic or analytics tracking from editor usage.
✅ Solves: Scattered interaction handling across components.
💤 Lazy-load the editor only when visible
Email editors are heavy and don’t always need to be rendered immediately. Using a directive lets you conditionally initialize the editor only when the container is visible in the viewport or when a feature is activated.
✅ Solves: Performance bottlenecks and unnecessary render cycles.
🔄 Use ngZone.run() to trigger change detection on editor events
Email editor’s callbacks, like onDesignLoad or onSave, fire outside Angular’s zone. If you need to update UI states based on these events (like showing a success message), wrapping them in an ngZone.run() ensures Angular picks up those changes.
✅ Solves: UI not updating after editor events.
🧹 Always clean up on ngOnDestroy
Forget to destroy the editor instance, and you'll likely end up with memory leaks or duplicate editors. A well-structured directive should include a teardown method that runs during ngOnDestroy.
✅ Solves: Initialization conflicts and memory issues in dynamic views or route changes.
By following these best practices, your Angular directive becomes a robust layer between the DOM and the email editor, ensuring smooth initialization, efficient rendering, and maintainable integration across your app.
How Unlayer Fits Into the Angular Directives Context?
By now, you’ve seen how Angular directives can help manage the complexity of integrating an email editor. But what if you could skip most of that setup entirely?
That’s exactly where Unlayer’s official Angular component comes in.
⚡ Quick, native Angular integration
Unlayer provides a ready-to-use Angular component that allows you to embed its drag-and-drop email editor directly into your Angular app. This means that no manual DOM handling or lifecycle management is required.
With just a few lines of code, the editor is up and running in your app.
✅ What this solves:
You no longer need to manually call
unlayer.init()You don’t worry about ViewChild timing or
ngAfterViewInithacksCleanup is automatically handled—no memory leaks
It plays nicely with Angular's change detection out of the box
Want to see Unlayer in action?
Handling dynamic features via Angular directives (still an option)
If you still want tighter control or want to abstract logic for reusability, you can tap into Unlayer’s advanced customization options, dynamic features, and even build your own custom tools.
🛠️ Inject custom tools
You can programmatically add new drag-and-drop elements using unlayer.registerTool(). This is useful for custom modules like product blocks, Call-to-Action (CTAs), or content cards that are unique to your platform.
✅ Perfect for role-based UI or feature toggling.
🏷️ Apply merge tags dynamically
Using merge tags allows you to personalize email content for each recipient. The best part is that Unlayer’s editor comes with built-in support for them, so there’s no manual setup required.
✅ Ideal for automating personalized content at scale.
🎨 Enable theme switching
Themes let you globally change the look and feel of emails—colors, fonts, spacing, and more. You can use Unlayer’s theme support to switch themes dynamically based on user roles, preferences, or app-wide settings.
✅ Great for maintaining brand consistency across tenants, email marketing campaigns, or use cases.
💾 Control save & export logic
With event outputs like onSave or onDesignUpdated, you can capture the design state and handle it however you like—save to a database, preview in a modal, or export as HTML.
Explore these in detail:
✅ Enables full control over publishing, saving, or syncing email content.
Conclusion
Embedding an email editor in Angular doesn’t have to be messy, repetitive, or error-prone. Whether you go the manual route using custom Angular directives or leverage Unlayer’s ready-to-use Angular component, you now have a clear path to building a clean, scalable integration.
Directives offer flexibility and modularity, especially when you need to handle custom tools, merge tags, dynamic themes, or export logic.
But for teams who want a plug-and-play solution with minimal setup, the Unlayer Angular component gets you up and running in minutes.
The bottom line?
Use Angular directives when you want fine-grained control or reusable abstraction across your app—but if speed and simplicity are your goal, Unlayer’s native component is more than enough.
Either way, you’re equipped to build a powerful, dynamic email editing experience inside your Angular application.
Frequently Asked Questions (FAQs)
1. Can directives help with performance optimization?
Yes. You can use structural directives to conditionally load heavy components like editors only when needed (*ngIf, for example). Directives also help avoid duplicated logic and reduce memory leaks by managing setup and teardown properly.
2. What are the downsides of using too many custom directives?
While powerful, excessive, or poorly scoped directives can lead to tightly coupled logic, naming conflicts, or unexpected behavior if not well-documented. Always keep them focused, reusable, and easy to reason about. If your directive logic becomes too complex, consider turning it into a reusable service or a feature module.
3. Do I need to write a custom directive if I use the Unlayer Angular component?
No—Unlayer’s official Angular component handles initialization, lifecycle, cleanup, and change detection out-of-the-box.Custom directives are optional and useful only if you need extra abstraction, like reusing configs or adding feature-specific logic (e.g., dynamic tools).
4. How do I inject custom tools or content blocks dynamically?
Use unlayer.registerTool() inside a custom directive or component hook to programmatically register new modules before or after the editor loads. This lets you add product blocks, special CTAs, or role-based features at runtime.
5. Is it safe to use the same directive instance for multiple editor containers?
No. Each editor container should have its own directive instance to avoid shared state or lifecycle conflicts. If you’re rendering multiple editors, use *ngFor with unique directive bindings for each instance.
6. Can I add tooltips, hover states, or interaction tracking through directives?
Yes. Directives give you access to native DOM events through @HostListener. This allows you to implement custom behaviors like tooltips, hover effects, or usage analytics without modifying the editor core.
7. Can I combine Angular services with directives to fetch editor data?
Yes. Services can be injected into directives to fetch data like templates, merge tags, or themes. This keeps logic centralized and reusable, especially when managing large-scale email workflows or campaign builders.


