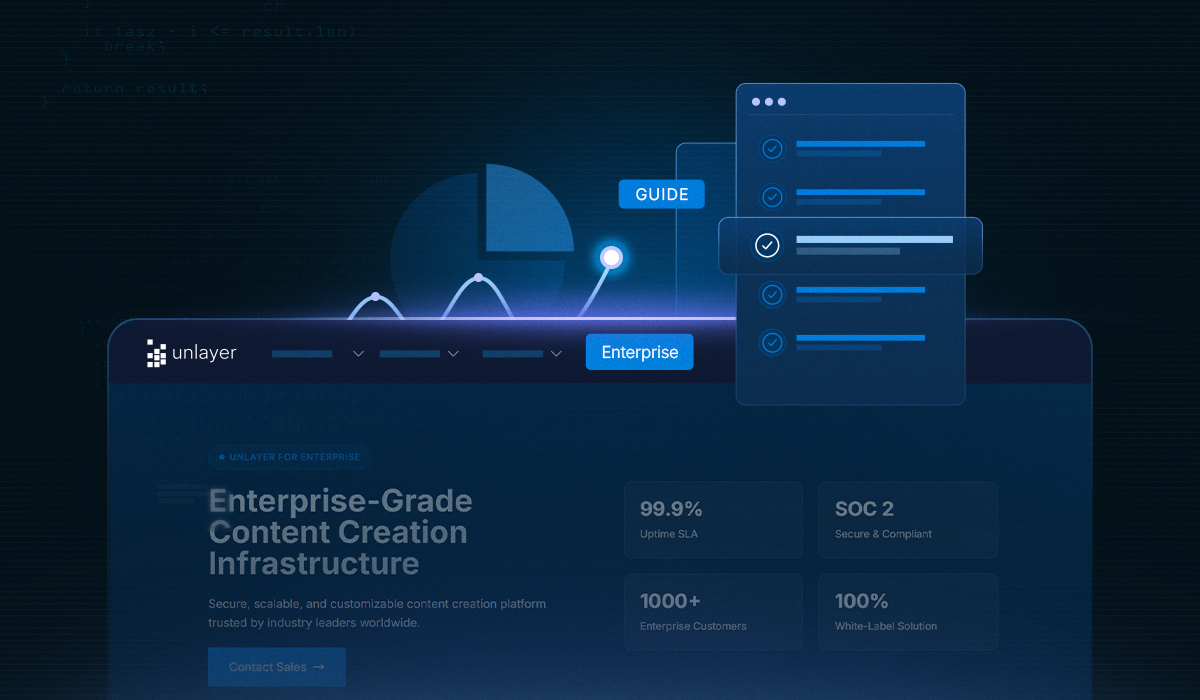
Unlayer Enterprise: Your Guide to Embeddable Tech at Scale
An in-depth Enterprise-focused overview of choosing an embeddable builder built for compliant workflows, flexible deployment, & fast team-wide content creation.

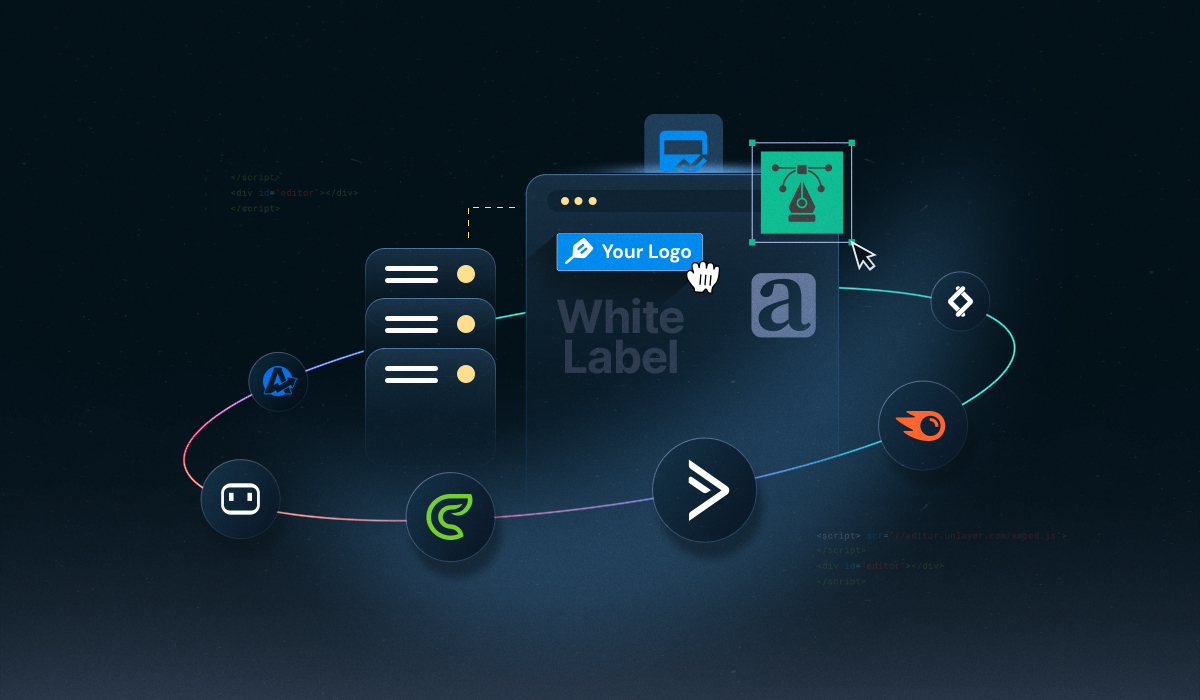
A white-label embeddable editor is your shortcut to giving end-users a powerful design tool that feels completely your own.
Instead of spending months building an editor from scratch, you can simply embed one, customize it with your branding, and make it blend right into your SaaS platform.
The result?
A seamless, consistent experience that not only saves development time but also keeps your product looking polished and professional.
In this blog, we’ll walk you through why a white-label embeddable editor is valuable for SaaS platforms, how you can white-label Unlayer’s editor, and what to do if you run into issues on a paid plan.
For SaaS platforms, consistency is everything. And a white-label embeddable editor makes it easy to deliver design tools that feel native to your product while keeping your brand front and center.
Here’s why it’s worth considering:
Seamless branding: Customize colors, fonts, and themes so the editor blends perfectly into your platform. Your users or customers won’t feel like they’re using a third-party tool.
Better user experience: A consistent design language across your app builds trust and makes your product feel more polished.
Faster time-to-market: Instead of spending time and resources building an editor from scratch, you can integrate a ready-made solution and launch faster.
Related: When to Build vs. When to Buy an Embeddable Content Builder
That’s where Unlayer comes in.
With its flexible SDK, you can fully white-label the editor to match your brand, tailor the features to your audience, and scale without worrying about reinventing the wheel.
Unlayer makes it simple to white-label its editor so it feels like a natural part of your SaaS platform.
The process comes down to customizing branding, controlling features, managing domains, and embedding the editor with your SDK of choice.
Here’s how you can do it:
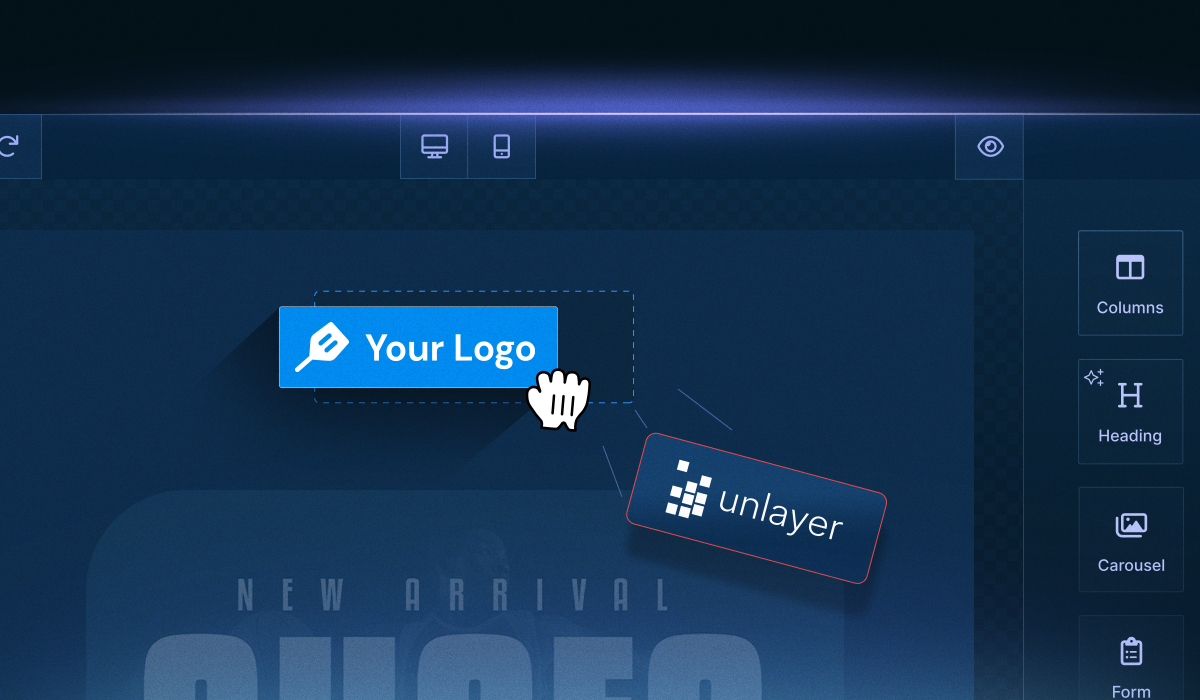
White-labeling is a premium feature, so the first step is to move to a paid plan. Once enabled, you’ll be able to remove Unlayer branding and replace it with your own.
To unlock the full power of white-labeling, check out Unlayer’s paid plans.
From logos to color palettes, fonts, and themes, you can fully align the editor with your product’s look and feel. This ensures end-users see your brand at every touchpoint instead of third-party branding.
Unlayer’s SDK allows you to hide or add tools, create custom content blocks, or even integrate custom tools. This flexibility ensures the editor isn’t just branded, it’s tailored to your users’ specific needs.
White-labeling doesn’t stop at customization. You’ll also need to whitelist your domains for production use.
During development: When testing locally, localhost is automatically whitelisted, so you’ll see all paid plan features without the Unlayer watermark.
In production: You must explicitly add your live domain in the Unlayer Console for the editor to reflect your paid subscription plan.
Open the page where the Unlayer builder is embedded.
Right-click anywhere and select Inspect.
In DevTools, go to the Network tab and refresh the page.
Look for a request named session and open its Payload.
Find the domain property and copy its value.
In the Unlayer Console, go to: Developer → Builder → Settings → Allowed Domains.
Paste the domain into the Allowed Domains field and save.
Refresh your page. You should now see the correct plan features, and the watermark will be gone.
Even after setting up white-labeling on a paid plan, developers sometimes run into small hurdles.
The good news is that most issues are easy to fix once you know where to look. For your reference, we’ve listed a few common ones below:
Double-check your SDK initialization settings. If the configuration isn’t applied correctly, the editor may still load with default styling instead of your custom branding.
Make sure the white-label feature is active on your paid plan and confirm that your production domain has been whitelisted in the Unlayer Console.
If the domain isn’t whitelisted, the editor will default to free plan behavior.
This often happens if the embedding script isn’t configured properly. Review your initialization code, ensure your API keys are correct, and confirm that the domain you’re working on matches the one whitelisted in your Unlayer Console.
Browser caching can sometimes hold onto older settings. Clear your cache or try loading the editor in a private window to confirm whether the changes are applied.
Confirm you’re on a paid plan with white-labeling enabled.
Verify SDK initialization code and settings.
Check that your domain is added under Allowed Domains in the Unlayer Console.
Ensure API keys are correct and match your project.
Clear browser cache or test in a private/incognito window.
By running through this checklist, you can resolve issues in minutes and get back to delivering a seamless, white-labeled experience.
Still running into issues?
Reach out to Unlayer support for quick help.
Or you can dive deeper into these guides for more framework-specific troubleshooting tips:
✅ Troubleshooting Common Issues When Embedding Unlayer in React
✅ Angular Editor Development: Common Pitfalls & How to Fix Them
✅ 6 Common Vue Email Builder Issues and How to Avoid Them
We hope this guide has helped you understand how to whitelist your domain and set up white-labeling in Unlayer.
From customizing branding and controlling features to managing domains and troubleshooting common issues, a white-label embeddable editor like Unlayer makes it simple to deliver a seamless, branded experience right inside your SaaS platform.
Embedding a ready-made editor like Unlayer lets you integrate advanced drag-and-drop editing functionality quickly, saving months of development effort and ongoing maintenance. Whereas building one yourself requires extensive engineering resources and time.
Absolutely. With Unlayer’s white-label embeddable editor, you can replace logos, customize fonts, colors, themes, and even tool placement, so end-users never suspect it’s a third-party tool.
Not at all. Unlayer’s editor is modular and loads on demand. It’s designed to integrate seamlessly without bloating your main application’s bundle.
Unlayer SDK offers plugins compatible with major frameworks, including React, Angular, and Vue.
Moreover, it is API-first, making it easy to embed, configure, save, and export content programmatically.
Instead of constantly building and maintaining an editor, you integrate an embeddable, customizable solution that scales with your user base and comes with enterprise-grade features like SOC 2 compliance and much more.
Insights on email design, content creation, and developer productivity.
An in-depth Enterprise-focused overview of choosing an embeddable builder built for compliant workflows, flexible deployment, & fast team-wide content creation.
A detailed guide on how Unlayer, a white-label builder for agencies, streamlines SMB marketing, boosts revenue, and simplifies client content creation.

Unlayer enterprise integration made simple with clear steps for embedding, customizing, and managing content across SaaS and on-premise platforms.