
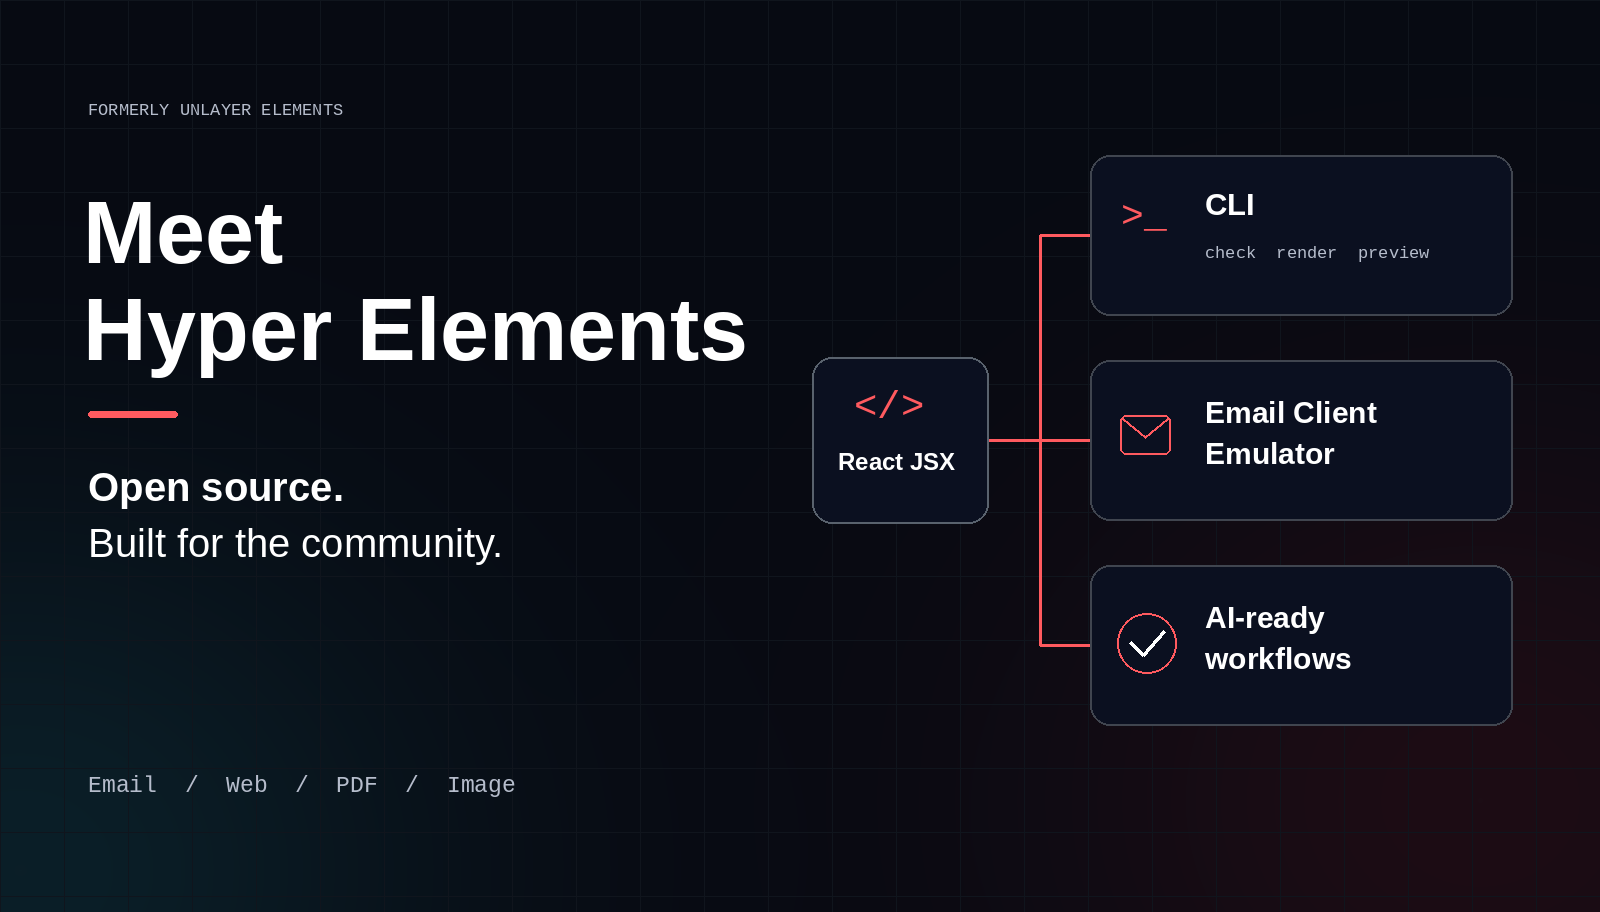
Unlayer Elements Is Now Hyper Elements: Built for the Community
Unlayer Elements is now Hyper Elements: an independent open-source toolkit with free local email testing, a CLI, and workflows for coding agents.

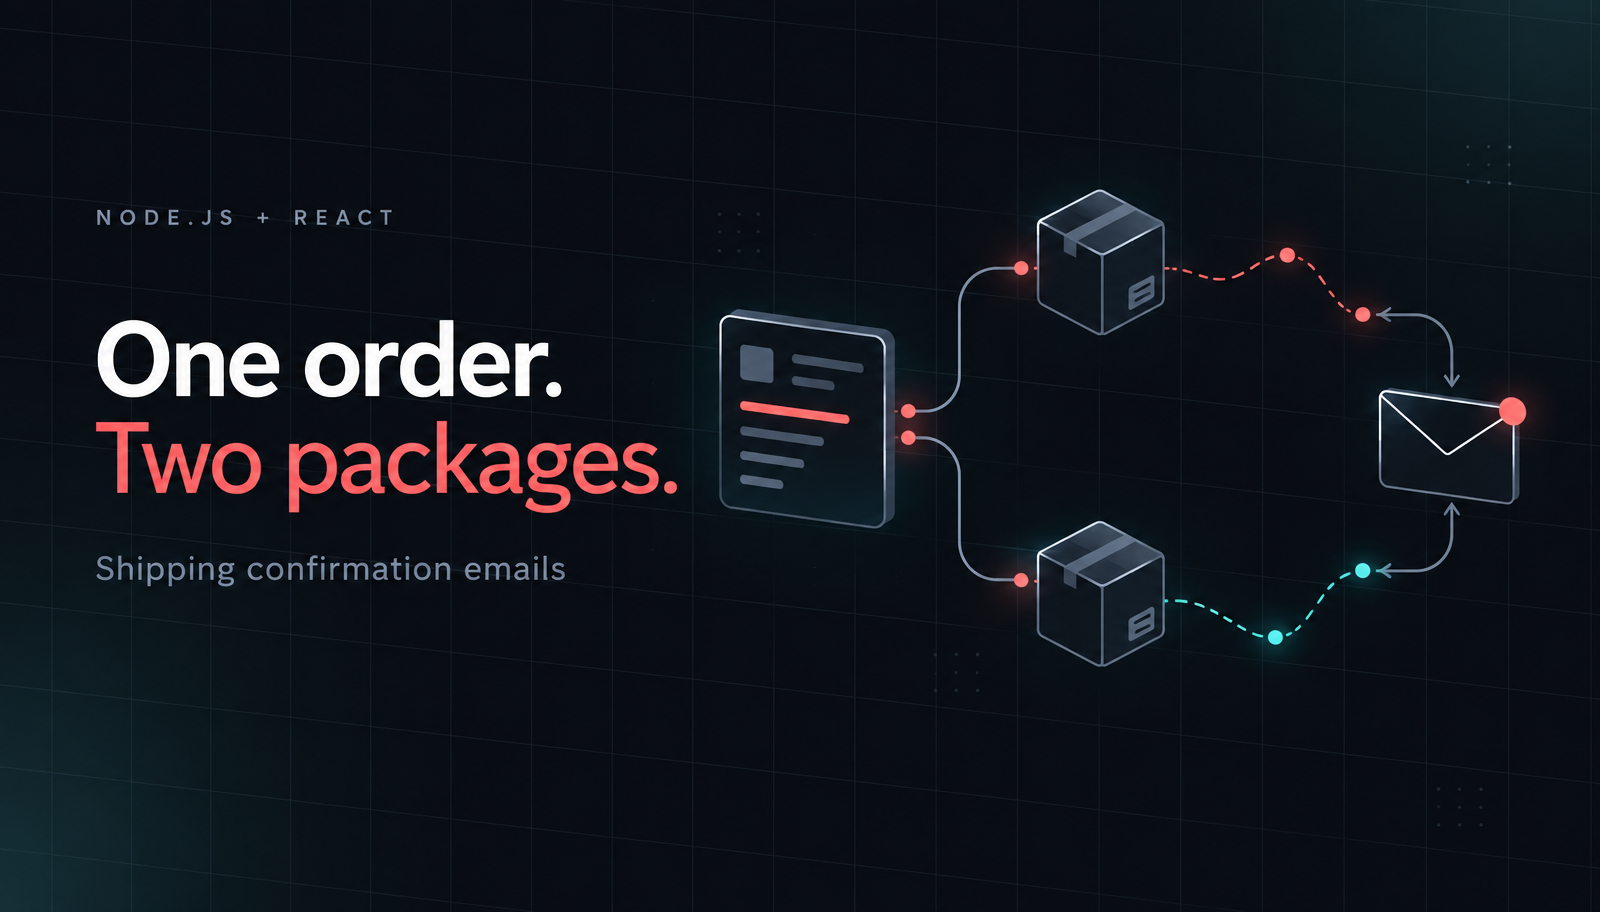
To send a shipping confirmation email in Node.js, turn an authorized fulfillment record into a React template, render it to HTML and plain text with Hyper Elements, then submit both to your email provider. Keep a separate tracking link for each package. Your application decides what shipped and who should receive the message; the template only presents those facts.
We’ll build a two-package confirmation with the items and tracking reference for each parcel. The first version writes preview files without sending. A separate, explicit Resend step comes afterward. This is code-first email authoring with Hyper Elements, formerly Unlayer Elements, not an embedded visual editor or a carrier-tracking service.
Start in a Node.js project with a package.json. Follow the current Hyper Elements installation guide: React and React DOM 18 or later are peer dependencies. Install the renderer, its peers and a TypeScript runner:
npm install @hyper-elements/react react react-dom
npm install -D tsx
Keep your lockfile. With TypeScript, use the documented react-jsx configuration. The explicit React import below also supports projects using the classic JSX transform. tsx runs TypeScript files; it does not replace your project’s type checking.
Create shipping.tsx. This record represents an order whose two packages have both been dispatched. The item lists describe only the contents of their own package, not the entire order repeated twice. The links point to package-specific pages in the shop:
import React from 'react';
import { mkdir, writeFile } from 'node:fs/promises';
import { render } from '@hyper-elements/react';
import { Button, Column, Email, Heading, Text } from '@hyper-elements/react';

const shipment = {
  order: 'FN-2048',
  packages: [
    { id: 'PK-01', carrier: 'Northline', tracking: 'NL-48021',
      url: 'https://shop.example.com/orders/FN-2048/packages/PK-01',
      items: ['Linen notebook × 1', 'Weekly planner × 1'] },
    { id: 'PK-02', carrier: 'Northline', tracking: 'NL-48022',
      url: 'https://shop.example.com/orders/FN-2048/packages/PK-02',
      items: ['Expandable desktop organizer with walnut dividers × 1'] },
  ],
};

function ShippingEmail() {
  return (
    <Email width={600} lang="en" previewText={`Tracking for order ${shipment.order}`}
      style={{ backgroundColor: '#edf1ef', color: '#183d35',
        fontFamily: 'Arial, Helvetica, sans-serif', fontSize: 16, lineHeight: 1.5 }}>
      <Column style={{ padding: 28, gap: 20 }}>
        <Text style={{ fontWeight: 700 }}>FIELDNOTE SUPPLY</Text>
        <Column style={{ backgroundColor: '#ffffff', padding: 28, gap: 16 }}>
          <Heading level={1} style={{ fontSize: 30 }}>Your order is on its way</Heading>
          <Text>Order {shipment.order} has shipped in {shipment.packages.length} packages. Track each package below.</Text>
          {shipment.packages.map((parcel, index) => (
            <Column key={parcel.id} style={{ backgroundColor: '#f4f7f5', padding: 20, gap: 12 }}>
              <Heading level={2} style={{ fontSize: 21 }}>Package {index + 1} of {shipment.packages.length}</Heading>
              <Text>{parcel.carrier} · {parcel.tracking}</Text>
              {parcel.items.map(item => <Text key={item}>{item}</Text>)}
              <Button href={parcel.url} style={{ backgroundColor: '#245b4e', color: '#ffffff',
                borderRadius: 0, fontSize: 16 }}>Track package {index + 1}</Button>
            </Column>
          ))}
          <Text style={{ fontSize: 14 }}>Tracking can take time to show the first carrier update. Your order page has the latest details.</Text>
        </Column>
        <Text style={{ fontSize: 14 }}>Questions about this shipment? Reply to this email.</Text>
      </Column>
    </Email>
  );
}

async function main() {
  const { html, text, diagnostics } = await render(<ShippingEmail />);
  await mkdir('out', { recursive: true });
  await writeFile('out/shipping.html', html, 'utf8');
  await writeFile('out/shipping.txt', text, 'utf8');
  console.log(diagnostics);
}
main().catch(error => {
  console.error(error);
  process.exitCode = 1;
});
Run the preview-only version:
npx tsx shipping.tsxOpen out/shipping.html in a browser and read out/shipping.txt beside it. You should see two clearly labeled packages, three item lines across them and a distinct tracking action for each package. There are no API keys or network submission steps in this version.

Each package card groups its tracking reference and contents above its own tracking button.
Hyper Elements supplies Email, Column, Heading, Text and Button. A Column stacks its children. Its padding creates space inside the card; gap separates the blocks. Styles live in style, and numeric lengths are pixels. The root width is a prop, not a style, and padding belongs on a child container.
The rendering API is asynchronous. Await render() and use the returned html as the complete document, without constructing another head or body around it. The returned text comes from the same template and includes button destinations. Review both outputs, especially after changing tracking labels or adding images.
The subject is separate from the template’s previewText. Your provider receives the subject when you send; previewText is the inbox-list snippet. Neither one should claim delivery is complete when your application only knows the packages have shipped.
Resend’s Node.js guide requires an API key and a verified sending domain. Install its SDK:
npm install resendAdd this import and helper to shipping.tsx. Keep the import with the other imports and the helper above main(). This is one controlled submission to a recipient you choose, not an automated fulfillment webhook:
import { Resend } from 'resend';

function required(name: string) {
  const value = process.env[name];
  if (!value) throw new Error(`Set ${name}`);
  return value;
}
async function sendShipping(html: string, text: string) {
  const { data, error } = await new Resend(required('RESEND_API_KEY')).emails.send({
    from: required('MAIL_FROM'), to: [required('MAIL_TO')],
    subject: `Your order ${shipment.order} has shipped`, html, text,
  });
  if (error || !data?.id) throw new Error('Email submission unresolved');
  console.log('Resend accepted:', data.id);
}
At the end of main(), after writing the preview files, add:
if (process.argv.includes('--send')) await sendShipping(html, text);Configure RESEND_API_KEY in your server environment, MAIL_FROM as an allowed sender on your verified domain, and MAIL_TO as a mailbox you control. Replace the shop origin, package destinations and Fieldnote Supply branding before sending. Use a monitored reply address because the footer invites replies.
Once you have reviewed the records and preview files, opt into submission:
npx tsx shipping.tsx --sendThe send-email API accepts both html and text. A returned message ID records provider acceptance, not inbox delivery. Running this command again attempts another email. This first version has no persistent notification record or duplicate protection, so don’t connect it directly to a retrying event source.
Use a stable, package-specific page in your own application when you want one place to resolve the latest tracking destination. That page must exist: the email library does not create it. Authenticate the visitor and authorize access to the order before showing private shipment details. An order reference in a URL is not authorization.
For a dynamic version, construct the URL from a trusted configured HTTPS origin and validated order/package identifiers. Node’s URL API handles URL parsing and relative paths. Reject unexpected origins and credentials, and never copy an arbitrary request-supplied URL into the tracking button. If you link directly to a carrier, enforce the destinations your fulfillment integration supports.
Keep the carrier name and tracking reference visible as text. The button should identify its package so someone doesn’t have to guess which parcel they are opening. Don’t place a short-lived signed link in the message unless you have deliberately designed what happens after it expires.
The first version assumes every package shown has shipped. If only part of an order has left the warehouse, change the subject, heading and introduction to say so. Include only the dispatched package contents, and explain separately that other items are still pending. Don’t keep “Your order has shipped” while silently omitting unshipped items.
Prepare the message from an application-owned snapshot. Require at least one dispatched package, a nonempty item list, a tracking reference and an approved destination for each package you include. If a required value is missing, hold the notification for review rather than producing an empty card or a button that goes nowhere.
This example intentionally omits delivery dates, prices and street addresses. Add an estimated date only when your fulfillment system provides one, label it as an estimate and format it for the intended audience. There is no need to copy a full billing address into a message whose main purpose is tracking.
Our shipping confirmation examples show the content and design choices behind package-specific tracking. If you need translated copy too, the separate React email localization tutorial covers language selection and currency formatting. Keep that concern outside this first shipping workflow.
Only prepare this email after your backend has accepted a trusted fulfillment event and selected the authorized recipient. A checkout success or a newly created label is not automatically your chosen definition of “shipped.” Define that transition in the fulfillment integration, not in the JSX.
Before adding retries, persist a notification key tied to the fulfillment revision, recipient and message type. Coordinate workers and freeze the prepared payload before the first submission. Record provider acceptance separately from later delivery events, and reconcile uncertain outcomes instead of blindly resending. Hyper Elements does not supply those application controls.
Review the longest product name, a single-package shipment and a denser order at narrow widths. Keep the layout flexible rather than putting fixed heights on text. Check the plain-text destinations as well as the visible buttons. Browser previews help inspect content and spacing, but they do not establish inbox compatibility. Review the message in the clients your recipients use before a production send.
No. This template renders the shipment data you pass in. Your application or fulfillment provider supplies carrier information, dispatch state and tracking destinations. Opening the email does not refresh those facts inside the message.
Yes. Await render() and pass its html and text results to the sending provider. You don’t need a separate plain-text template for this workflow, but you should still review that output after changing the content.
Yes. With the Unlayer builder integration, use toDesign() to convert a Hyper Elements template into design JSON, then load it into Unlayer so customers can edit supported blocks visually. Save their edited JSON; fromDesign() can read it back for rendering and return JSX. Review the conversion report because some structures become HTML blocks that can be moved but not edited. The original props, loops and conditions are not recovered from the design. This tutorial’s first version stays code-first; visual editing is the supported next step.
Open the live two-package shipping preview, follow the official Hyper Elements rendering docs, and start with Hyper Elements. The demo shows the email layout. Your Node.js application supplies fulfillment data, package-page behavior and the explicit sending step.
Insights on email design, content creation, and developer productivity.
Unlayer Elements is now Hyper Elements: an independent open-source toolkit with free local email testing, a CLI, and workflows for coding agents.
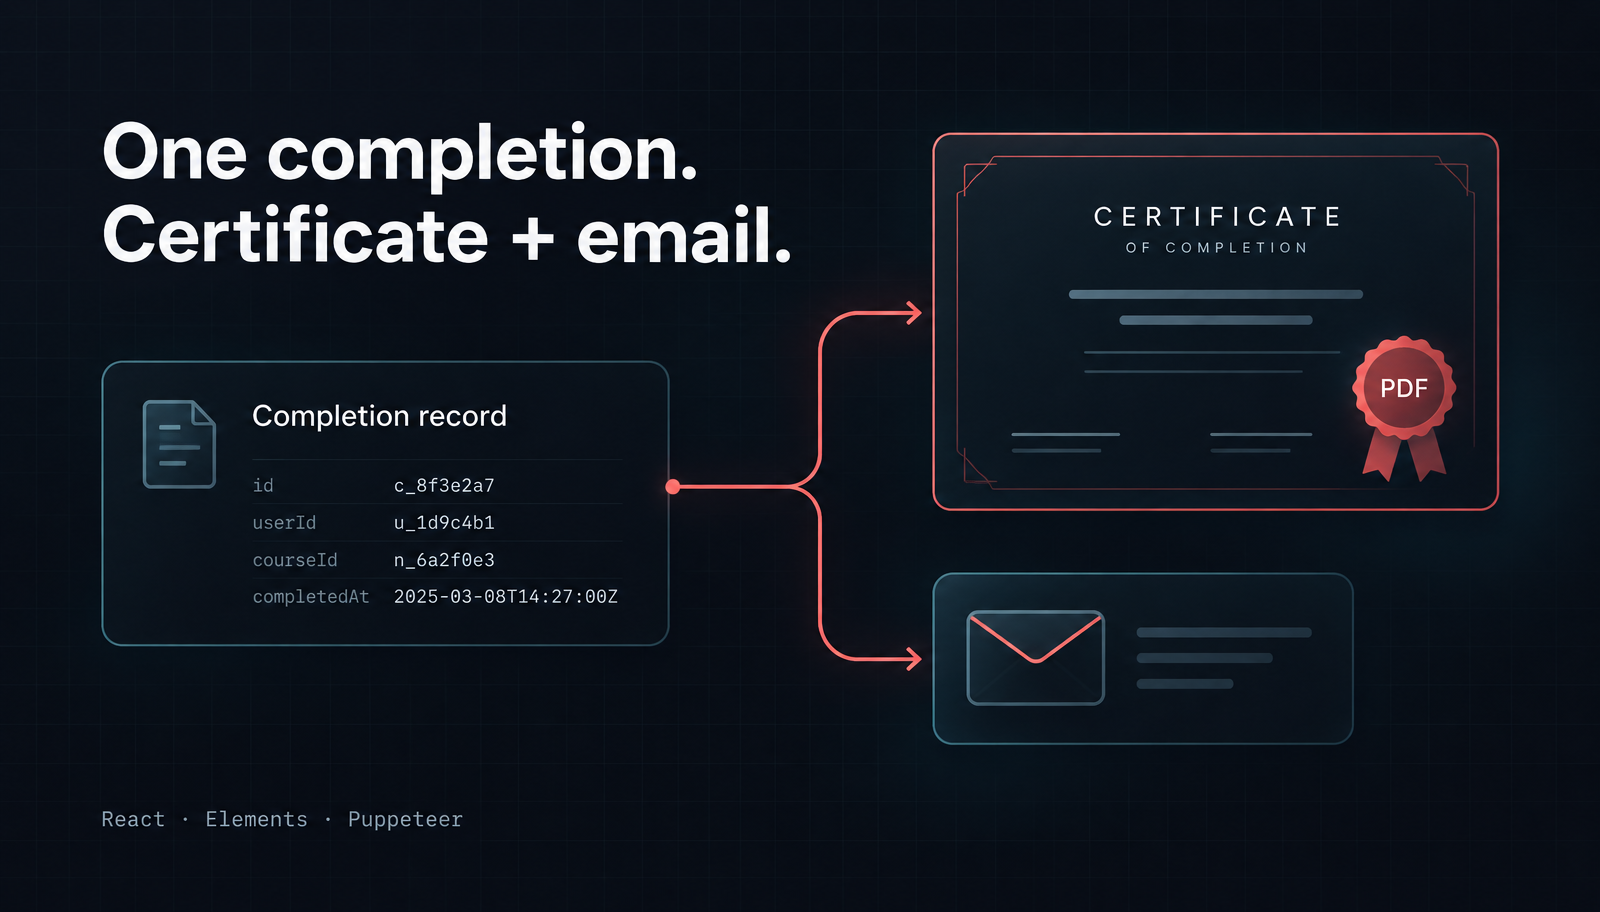
Generate a course completion certificate PDF in Node.js with React and Unlayer Elements, then attach it to a matching notification email with Nodemailer.
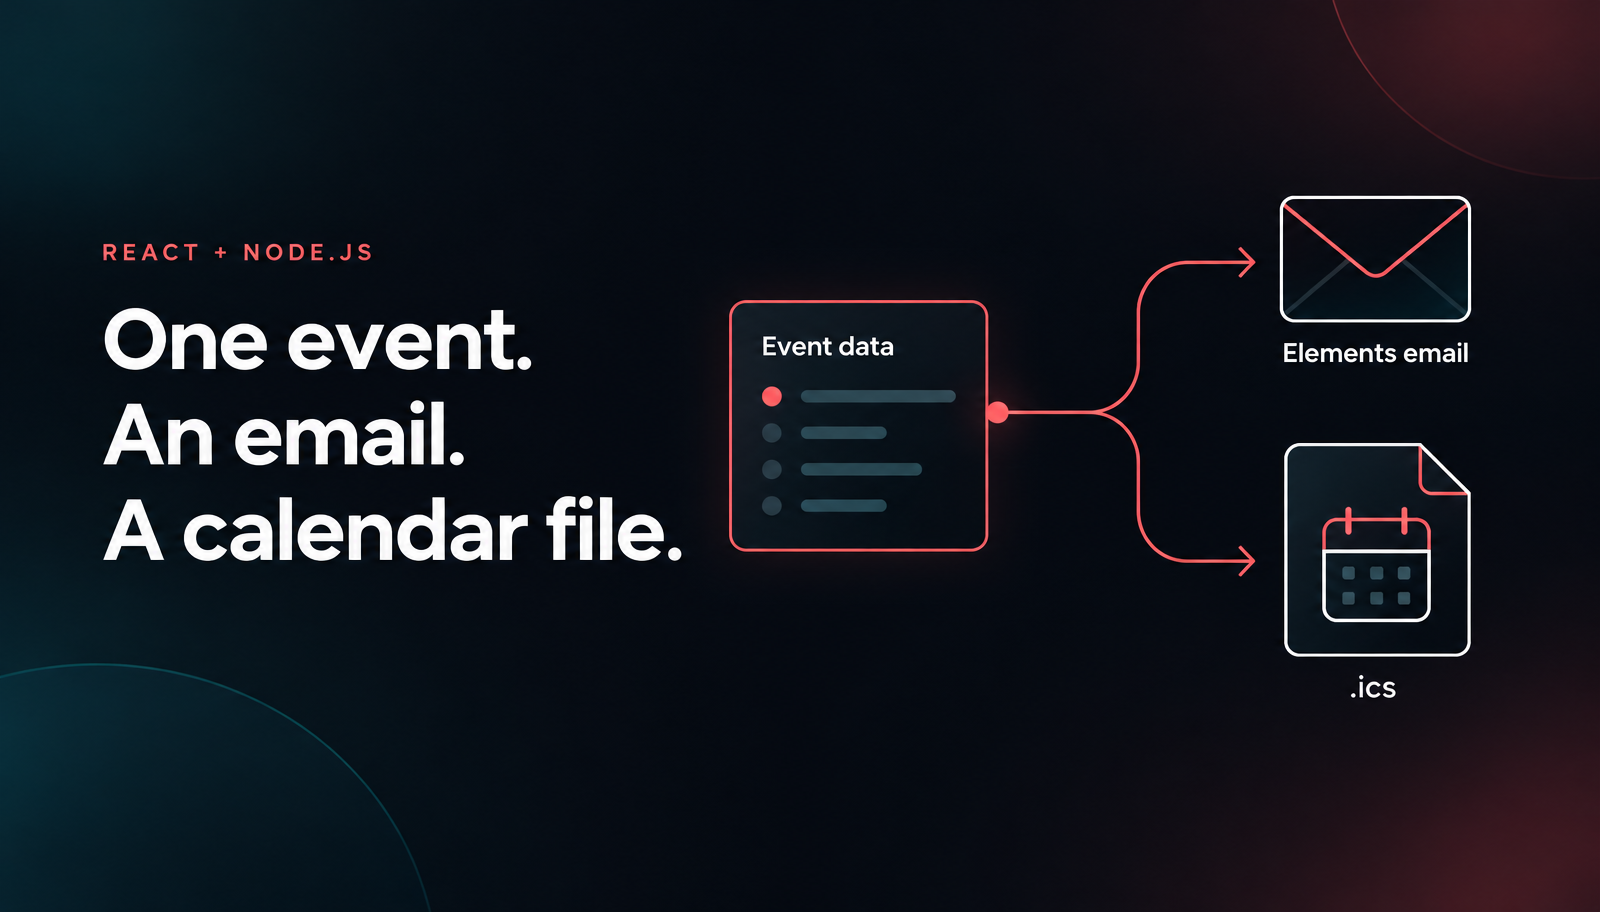
Build a Node.js email calendar invite with React, Unlayer Elements, ics and Nodemailer. Preview the confirmation and ICS file, then opt into SMTP sending.